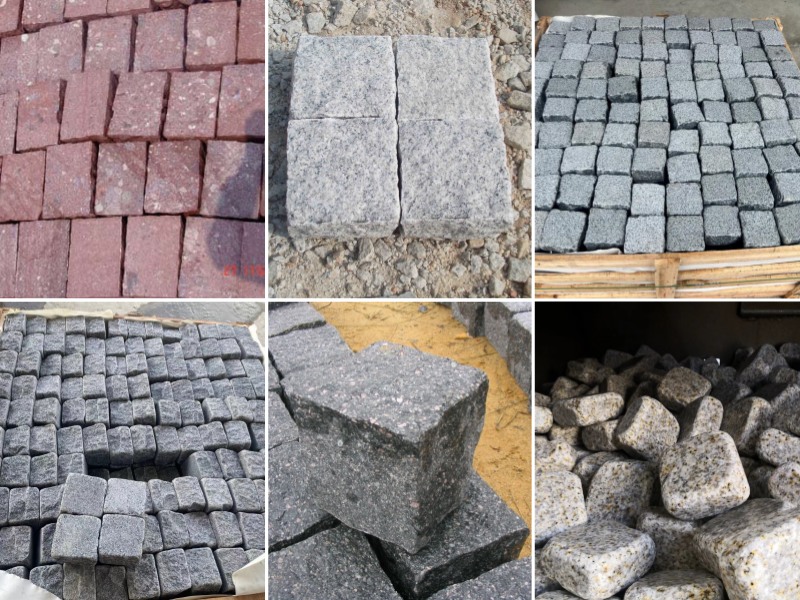
How to install the patio/driveway/pathways with granite cube stones/setts/bricks
Last week a new client contacted and gave us a new driverway project from after he visited his neighbour patio which was finihsed by our products G685 ZP black basalt cubestone.
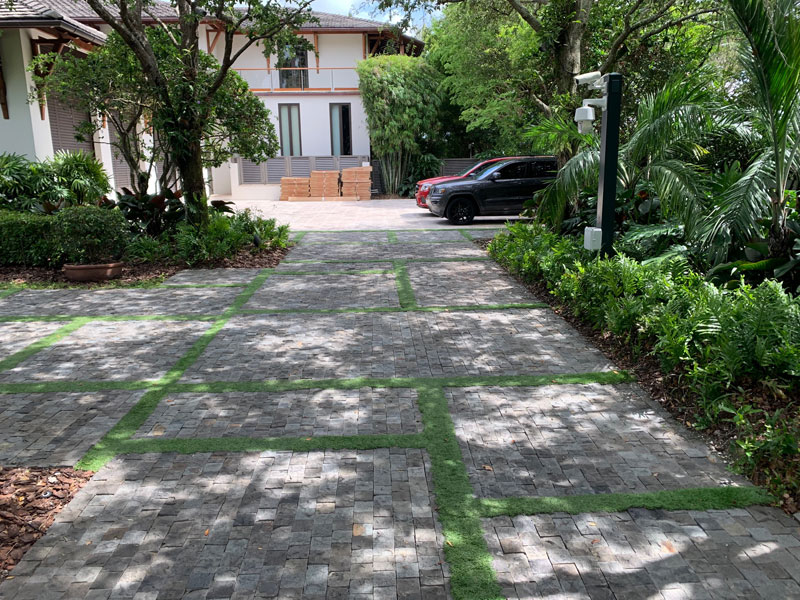
Actully this client's driverway already finished by somebody but he is not happy becaused of the poor quality granite setts and installation, and now he want to take off and redo it. Photos as below.
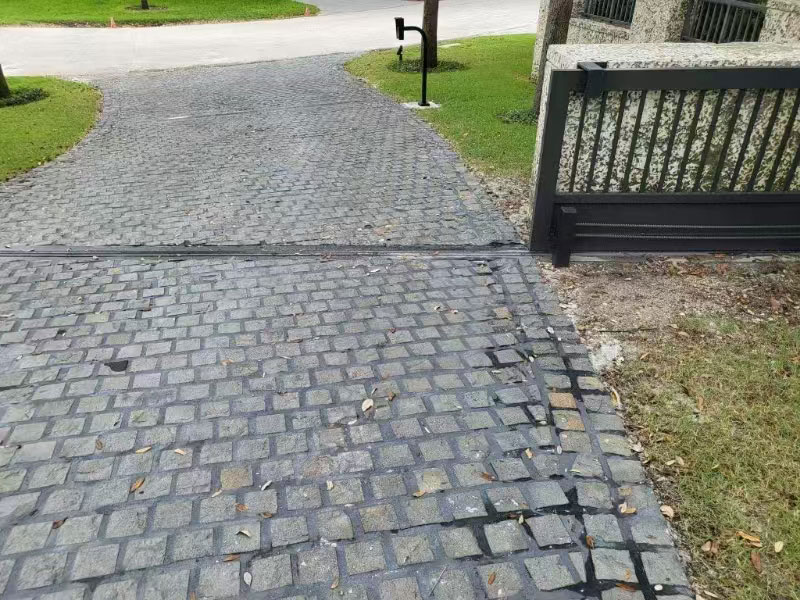
Then how can we transforms a patio/driveway/pathways into a neat,charming and elegant landscaping project with granite cubestone/setts/bricks? This article we will show you how to install granite cube stones/setts/bricks to create a neat,charming and elegant patio/driveway/pathways.
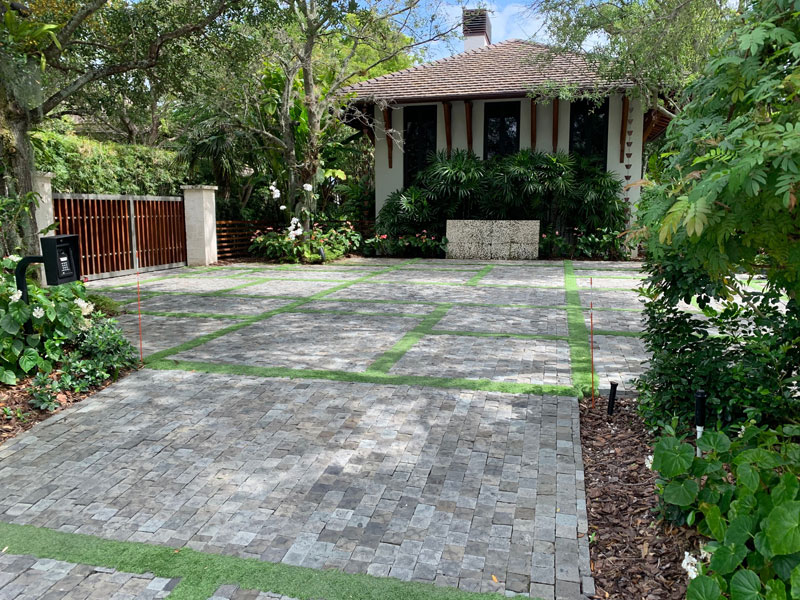
Premium quality granite cubestones is the basic of the good landscaping project.Winstone mission is to offer best prices for quality products,We provide complete support and assitant till the project ends & costumer gets satisfied.
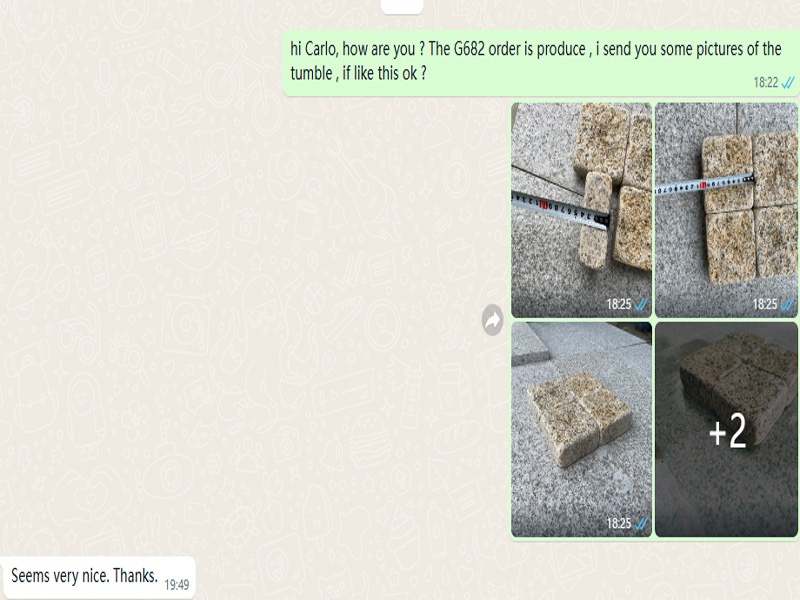
Client prodives an amazingly brilliant idea to incorporate including different treatment ,different color ,win stone always try our best to finish the samples according to this idea to ensure clients get thire desired effect.We aslo focus on all detail of clients request ,lead time and quality control during the production.
Expert installation is also very important.Even if you choose top-quality materials and plan everything well, an experienced installer or team will ensure that the work is done correctly. This includes proper alignment, joint spacing, and ensuring the surface is level and even.
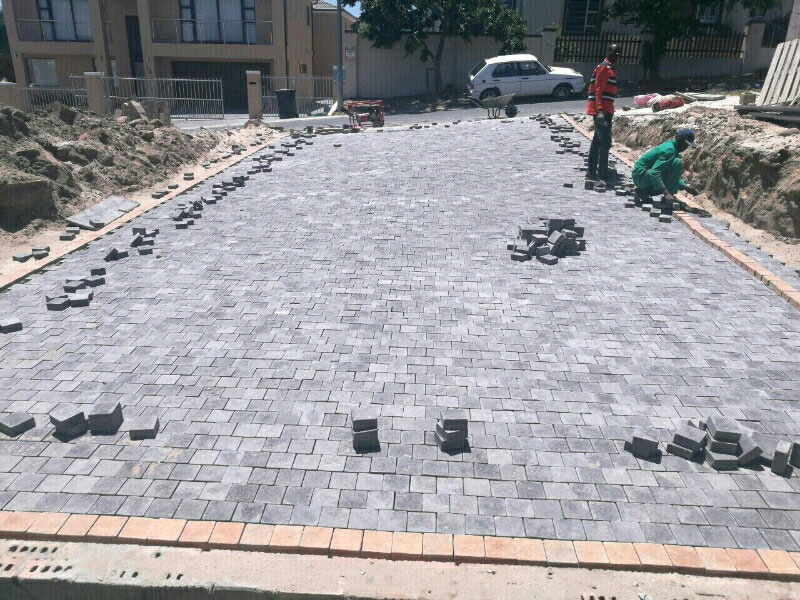
Here's how you can install a patio/driveway/pathways with granite cubestone/setts/bricks:
1.Design your patio layout by measuring the area and deciding on the pattern for your granite cubestones. You can arrange the stones in a variety of patterns, like a herringbone, basketweave, or a random pattern.
2. Clear the Area,remove any grass, weeds, or debris from the area where your patio will go.Excavate ,Dig down about 4-6 inches (10-15 cm), depending on the thickness of your granite cubestones. This will provide space for your base layer and bedding material.Compact the Soil: Use a compactor or hand tamper to compact the soil and ensure it's stable.
Pour about 3-4 inches (7-10 cm) of gravel or crushed stone into the excavated area. This serves as the base layer that helps with drainage and stability. Adequate drainage is essential to prevent water pooling and to protect the materials from shifting or cracking. Sloping the surface away from buildings and installing drainage systems can help avoid water-related issues.Compact the gravel layer again, use the compactor or tamper. The more compacted the base, the better the patio will hold up over time.
Add a layer of sand or concrete (about 1 inch or 2.5 cm) over the compacted gravel. Spread &level the sand provides a smooth surface for the granite cubestones and helps with leveling. Use a straightedge to level the sand evenly. A level is important to make sure your stones sit flat.
Start from one corner or along one edge and begin laying the granite cubestones. Leave a small gap (about 1/8 to 1/4 inch) between each stone. The gaps allow the sand to settle and provide space for any future shifting.
Once all the stones are laid, use a compactor again to gently tamp down the stones into the sand bed. This helps to set them into place and ensure they are secure.As you go along, regularly check that each stone is level using a spirit level.Cut Stones if Necessary,You may need to cut some stones to fit the edges of the patio or to make the pattern work.
Spread more sand over the top of the stones, filling in the gaps between the granite cubestones.Once the gaps are filled with sand, run the compactor over the surface again to settle the sand into place.
Sweep off any excess sand or dirt from the surface of the stones.Clean the stones with water if necessary, especially if they have any construction residue on them.If desired, you can apply a stone sealer to protect the granite and enhance its color.